Growing Peppers in Containers
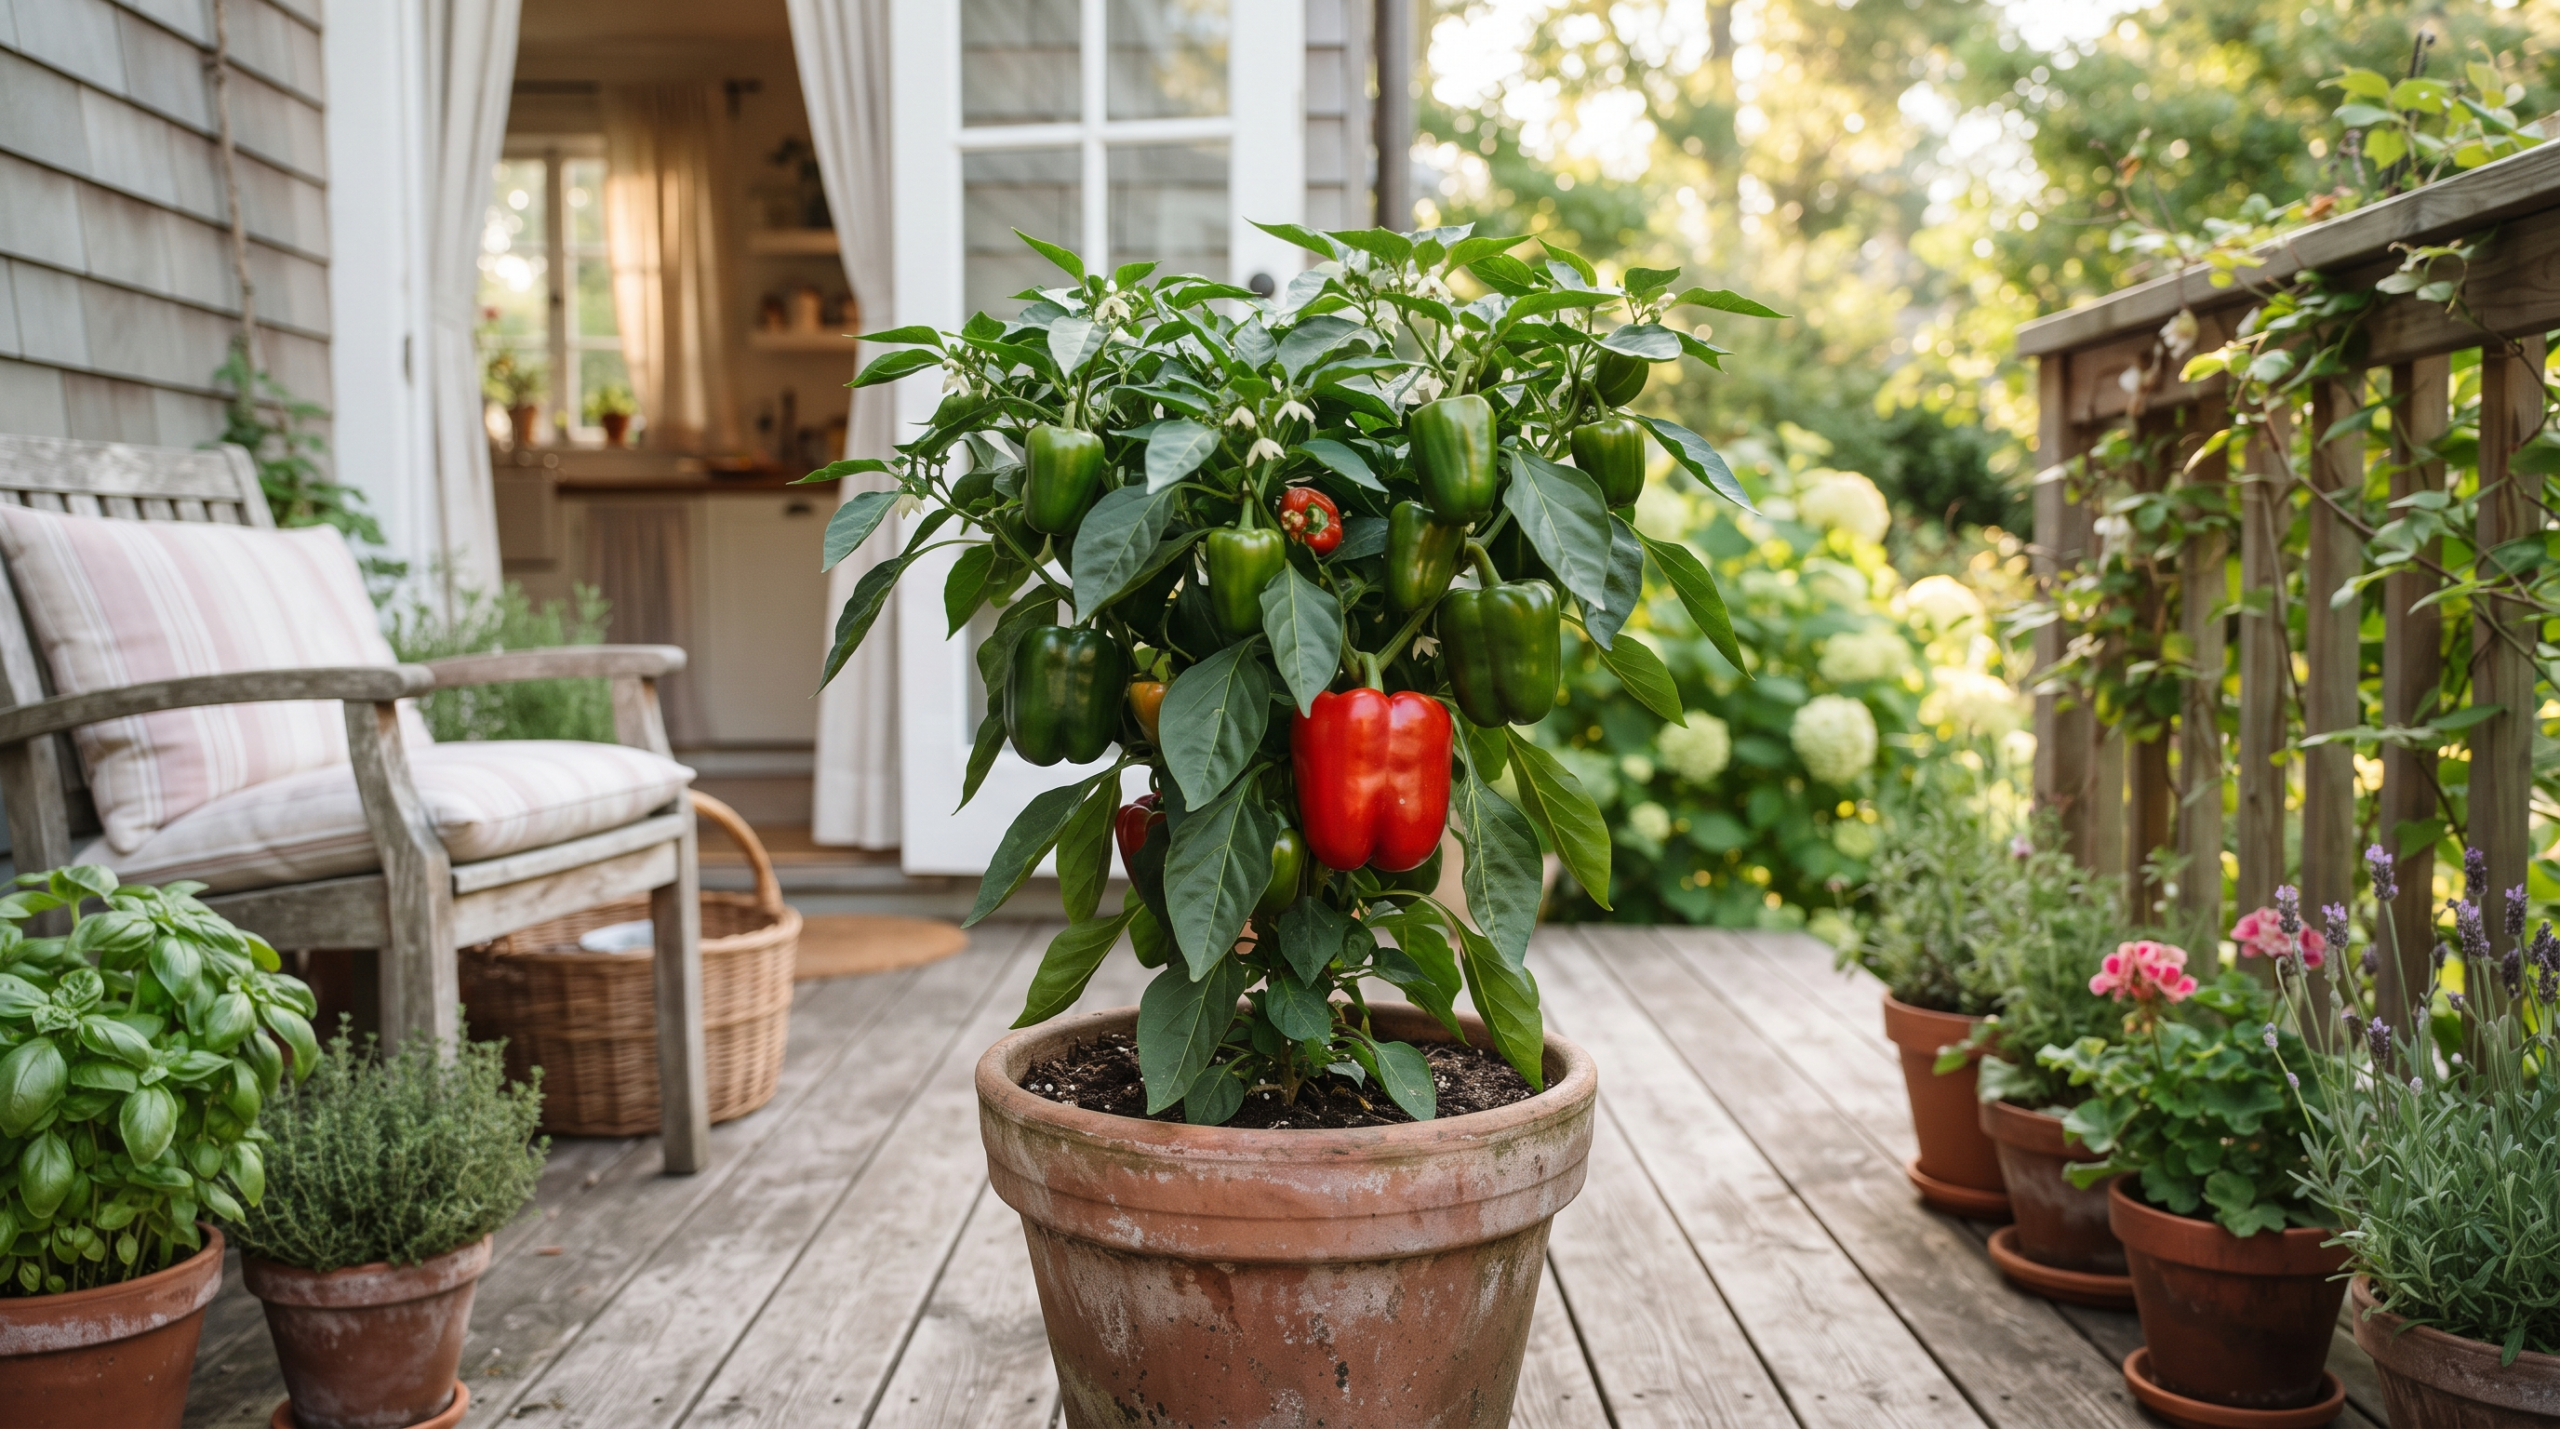
There's something so satisfying about stepping onto your patio in late summer and picking a glossy pepper still warm from the sun. I started growing peppers in pots when I had nothing but a tiny balcony, and they've been a staple ever since. If you've got a sunny spot and a big enough container, you can grow these beauties almost anywhere.
Quick Facts
| Light | 6–8+ hours of direct sun |
| Water | Consistent moisture; water when top inch of soil is dry |
| Soil | Loose, well-draining potting mix rich in organic matter |
| Difficulty | Beginner-friendly with a little patience |
| Time to Maturity | 60–90 days from transplant (longer for hot peppers) |
| USDA Zone | Grown as an annual in most zones; perennial in zones 9–11 |
What You'll Need to Get Started
Peppers are warm-season plants, so timing and setup matter more than anything fancy. Here's your short shopping list:
- A large container — at least 3–5 gallons per plant (think 12 inches wide and deep). Bigger pots hold moisture more evenly and give roots room to spread.
- Drainage holes — non-negotiable. Peppers hate soggy feet. If your pot doesn't have holes, drill a few.
- Quality potting mix — not garden soil, which compacts and drains poorly in containers.
- A sunny spot — a south- or west-facing patio, balcony, or windowsill that gets 6+ hours of direct sun.
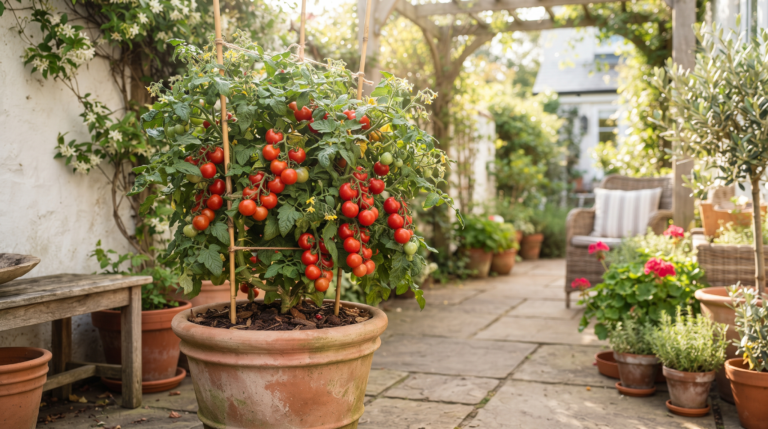
If you're new to container edibles, peppers pair beautifully alongside a pot of tomatoes or a few basil plants for an easy salsa garden.
When and How to Plant
Peppers love heat and sulk in the cold, so timing is everything.
Starting from seed or seedling
If you're starting seeds indoors, sow them about 8–10 weeks before your last expected frost. Not sure when that is? It depends on your USDA zone — you can look up your zone here to find your average last frost. Prefer to skip the seed-starting step? Buy healthy transplants from a nursery instead.
Moving outdoors
Wait to move peppers outside until:
- All danger of frost has passed
- Nighttime temperatures stay reliably above 55°F
Cold soil stunts peppers, so a little patience here pays off with a stronger plant.
Transplanting into the pot
- Fill your container with moistened potting mix.
- Plant your seedling at the same depth it was growing in its nursery pot.
- Water gently to settle the roots.
- Add a stake or small cage now — it's easier than doing it once the plant is heavy with fruit.
Daily Care: Sun, Water, and Feeding
Once your pepper is settled in, care is refreshingly simple.
Sun
Give them as much direct sun as you can — 6 to 8 hours is ideal. More sun means more peppers. If your plants stretch tall and leggy, they're reaching for more light.
Water
Containers dry out faster than garden beds, so check daily in hot weather.
- Water when the top inch of soil feels dry.
- Water deeply until it runs out the drainage holes.
- Avoid letting the pot sit in a saucer of standing water.
Inconsistent watering is the most common cause of drama — see the troubleshooting section below.
Feeding
Peppers are moderate feeders. Mix a slow-release fertilizer into the soil at planting, then feed every 2–3 weeks with a balanced liquid fertilizer once the plant starts flowering. Avoid too much nitrogen, which gives you a lush leafy plant with few peppers.
Harvesting Your Peppers
This is the fun part. Most sweet peppers are ready 60–90 days after transplanting, while many hot peppers take a bit longer.
How to know they're ready
- Sweet peppers can be picked green or left to ripen to red, yellow, or orange — the color-ripened ones are sweeter.
- Hot peppers grow spicier the longer they stay on the plant.
- Fruits should feel firm and glossy.
How to harvest
Don't tug! Use scissors or pruners to cut the pepper from the stem, leaving a short stub. This protects the plant from tearing. The more you harvest, the more the plant is encouraged to keep producing right up until your first fall frost.
Tips
- Choose a dark-colored pot to help warm the soil early in the season — peppers love warm roots.
- Pinch off the very first flowers on a young plant to encourage stronger root and leaf growth before fruiting.
- Mulch the top of the soil with straw or bark to keep moisture consistent on hot days.
- Group containers together to create a warmer microclimate and reduce watering frequency.
- Bring pots indoors or under cover if a surprise late-spring cold snap threatens.
Common Problems
Flowers drop off without forming peppers
This is usually caused by temperature stress (too hot or too cold) or inconsistent watering. Keep soil evenly moist and provide light afternoon shade during heat waves — blossoms typically set once conditions stabilize.
Leaves turning yellow
Often a sign of overwatering, poor drainage, or a nutrient shortage. Check that your pot drains freely and let the top inch dry between waterings. Our guide on yellow leaves on plants walks through the full checklist.
Clusters of tiny bugs on new growth
Aphids love tender pepper shoots. Spray them off with a strong jet of water or use insecticidal soap — see how to get rid of aphids naturally for gentle, effective options.
Wilting even when soil is moist
Peppers in dark pots can overheat in full afternoon sun. Move the container to receive morning sun and light afternoon shade, and confirm roots aren't sitting in waterlogged soil.
Varieties to Try
- 'California Wonder' — a classic, reliable sweet bell pepper
- 'Mini Bell' — compact plants perfect for small containers
- 'Jalapeño' — easygoing hot pepper with steady production
- 'Cayenne' — prolific and great for drying
- 'Banana' — sweet, mild, and beautifully productive
- 'Habanero' — for heat lovers, thrives in warm zones