How to Regrow Green Onions from Scraps
There's something almost magical about the first time you watch a green onion sprout back to life on your kitchen windowsill. I started doing this years ago after realizing I was tossing perfectly good root ends into the compost, and now it's a little daily ritual I genuinely look forward to. If you've never grown anything before, this is the gentlest, most rewarding place to start.
Quick Facts
| Light | Bright light, 4–6+ hours (a sunny windowsill works) |
| Water | Keep roots in fresh water or soil consistently moist |
| Soil | Optional; any well-draining potting mix if planting |
| Difficulty | Very easy — beginner-friendly |
| Time to Maturity | Regrows in 7–14 days for a first snip |
| USDA Zone | Indoors: any zone; outdoors: grows in USDA zones 3–9, depending on your USDA zone |
What You'll Need
The beauty of regrowing green onions is that you probably already have everything on hand. Here's the short list:
- Green onion (scallion) root ends — save about 1–2 inches from the white, rooted base
- A small glass, jar, or shot glass
- Fresh water OR a small pot with drainage holes and potting mix
- A bright spot with at least 4–6 hours of light
That's it! No special tools, no seeds, no waiting for a growing season. If you can rinse a jar, you can do this.
Getting Started in Water
This is the fastest, most satisfying method — you'll see growth within a couple of days.
Step by step
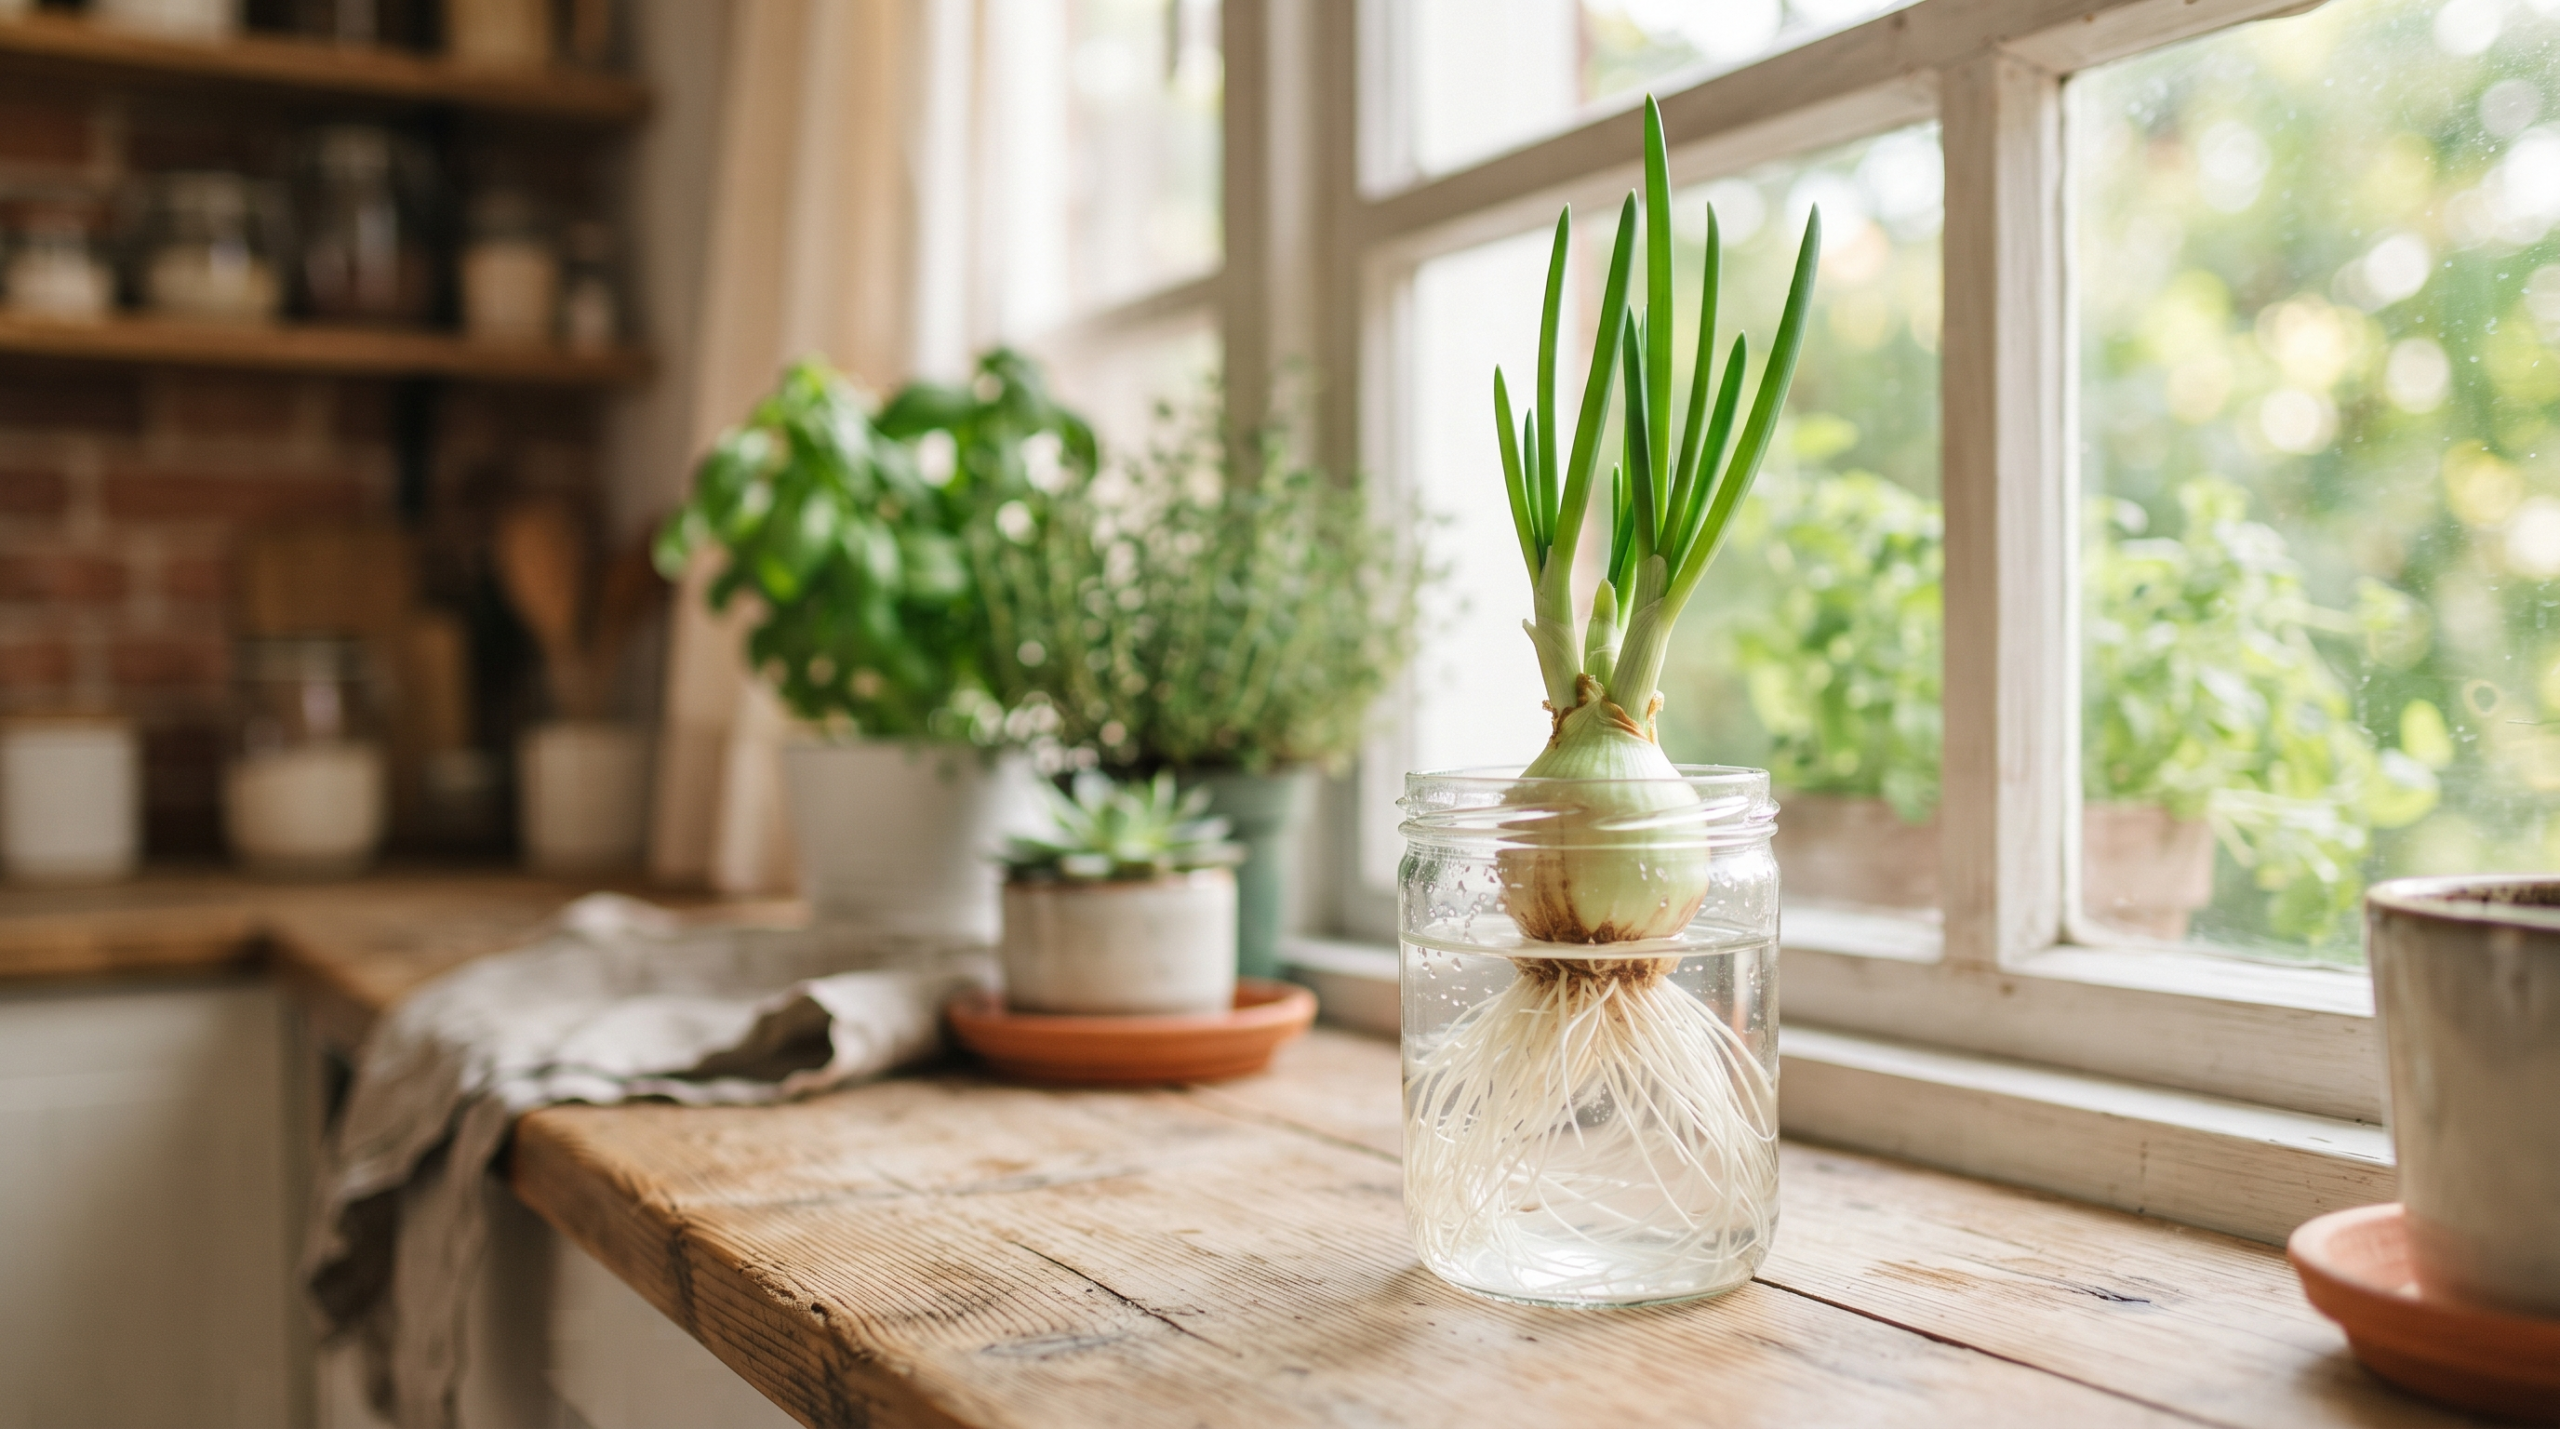
- Trim your green onions, leaving the white root ends about 1–2 inches long. Eat the green tops as usual.
- Stand the root ends upright in a small glass, roots pointing down.
- Add just enough water to cover the roots — about 1 inch. Don't submerge the whole stalk.
- Set the glass in a bright window. A south- or west-facing sill is ideal.
- Change the water every 1–2 days. This is the single most important habit. Stale water gets cloudy and smelly fast.
You'll notice new green shoots pushing up from the center within a few days. Snip what you need with scissors and let them keep growing.
Moving to Soil for Longer Harvests
Water regrowth is fun, but each harvest gets a little thinner as the plant runs out of stored energy. For a supply that keeps giving, pot them up in soil.
Choosing a container
- Any pot at least 4–6 inches deep with drainage holes at the bottom
- Drainage is non-negotiable — soggy roots rot quickly
- A window box or recycled yogurt cup (poke holes) both work great
Planting
- Fill with a light, well-draining potting mix
- Tuck the root ends in so the white base is buried and the green tips peek above the soil
- Water until it drains from the bottom, then keep the soil evenly moist — not swampy
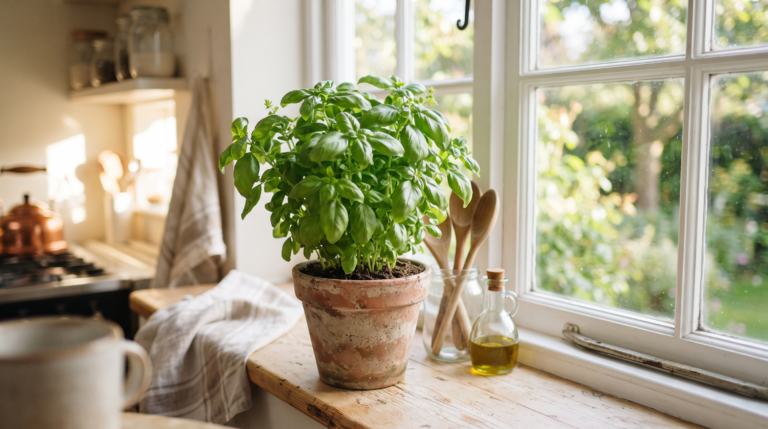
If you love the idea of a tiny edible windowsill garden, green onions pair perfectly with a pot of basil grown indoors and a few other herbs you can grow on a windowsill.
Light, Water, and Feeding
Green onions are forgiving, but they do have a few simple preferences.
Light
Aim for 4–6 hours of bright light daily. A sunny windowsill is plenty. If your growth is pale, stretched, and floppy, that's a classic sign of too little light — move them somewhere brighter. (Struggling to judge light levels in your home? The same principles apply to houseplants — see our notes on reading light in why is my peace lily drooping.)
Water
Consistent moisture is the goal. In water, refresh every 1–2 days. In soil, water when the top inch feels dry. Getting a feel for this takes practice — our guide on how to water houseplants has beginner-friendly tips that carry right over.
Feeding
Water-only plants don't need fertilizer, but potted ones appreciate a diluted balanced liquid fertilizer every 2–3 weeks during active growth.
Harvesting and Timing
The best part! You can take your first snip once the new green shoots reach about 6 inches — usually 7–14 days after starting.
How to harvest
- Use clean scissors to snip the green tops, leaving about 1 inch above the white base
- Always leave the roots and white base in place so it keeps regrowing
- Harvest a little at a time rather than all at once
In water, you can typically get 2–3 good harvests before the plant tires out. In soil, a healthy plant can keep producing for months. If you want to grow them outdoors, green onions are cool-season lovers — set transplants out around your last frost date, or a couple weeks before, depending on your USDA zone. Not sure of yours? Our USDA hardiness zones explained guide walks you through finding it.
Tips
- Keep a jar going year-round so you always have a fresh snip for eggs, soups, and tacos.
- Rotate the glass every few days so shoots grow straight instead of leaning toward the window.
- Save the freshest, thickest root ends — they regrow faster and stronger than thin, dried-out ones.
- Label your start date on a piece of tape; it's fun to track how fast they bounce back.
- Move water-grown onions to soil after the first harvest for a much longer supply.
Common Problems
The water turns cloudy and smells unpleasant.
This means bacteria are building up. Rinse the roots, scrub the glass, and refresh the water every 1–2 days without fail.
New growth is pale, thin, and flopping over.
Too little light. Move to a brighter window with 4–6 hours of sun. If natural light is limited, a small grow light helps a lot.
Roots turn slimy or mushy in soil.
Overwatering or poor drainage. Make sure your pot has drainage holes and let the top inch of soil dry between waterings.
Harvests get thinner each time in water.
The plant has used up its stored energy. Transplant into potting soil and feed lightly for continued, fuller regrowth.
Varieties to Try
- Common bunching onions (standard grocery-store scallions) — regrow effortlessly
- 'Evergreen Hardy White' — cold-tolerant and great for windowsills
- 'Tokyo Long White' — tender, mild, and quick to regrow
- 'Red Beard' — pretty reddish bases and a mild flavor
- 'Parade' — reliable, uniform, and slow to bulb